
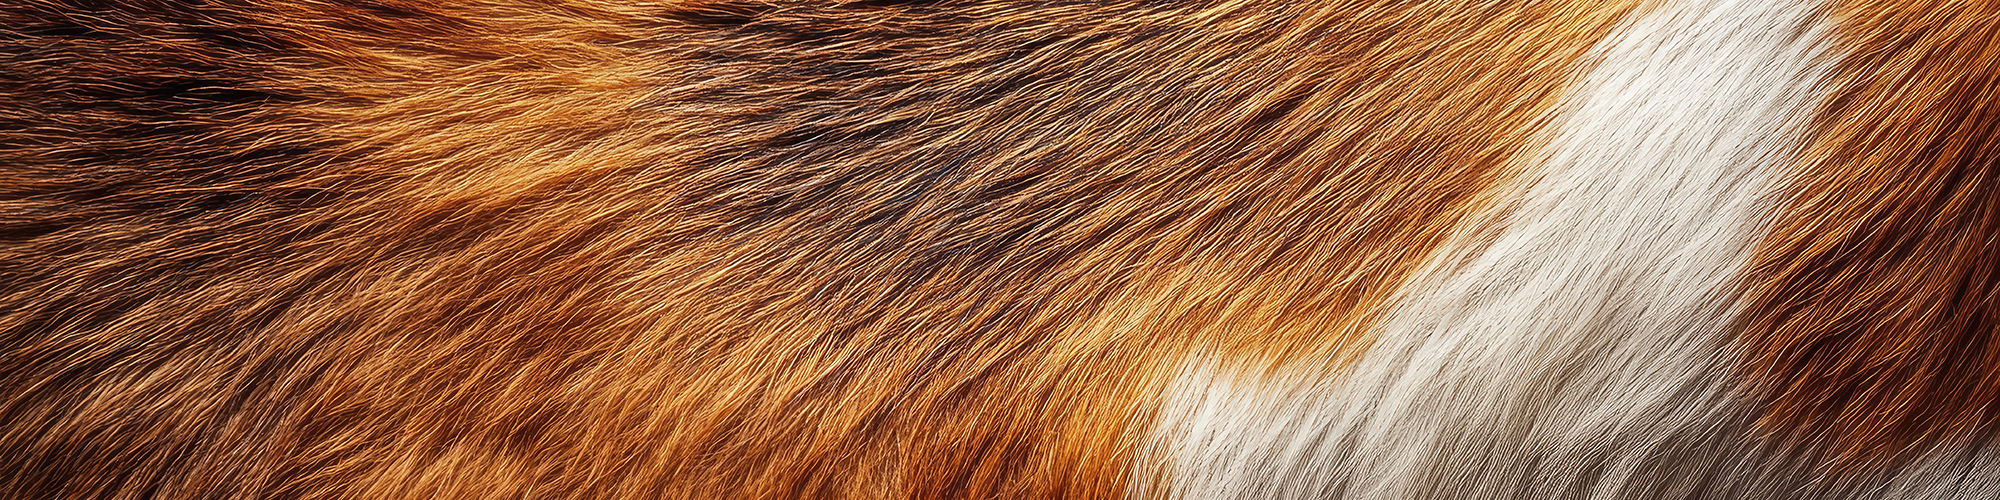
Part 1: Fundamentals of Realistic Fur
Understanding Fur
Length & Direction: Observe your reference closely. Does the fur flow straight, curl, swirl? Short fur has small, tight strokes; long fur has sweeping, curved strokes.
Clumping: Fur isn’t uniform. It groups into tufts — this adds realism.
Layers & Depth: Fur has layers; base layers give depth, middle layers give volume, and top layers add detail and highlights.
Color Variations: Even “solid” colored animals have subtle color shifts; real fur reflects light, showing warmer or cooler tones.
Part 2: Detailed Step-by-Step Tutorial
1) Gather References & Materials
Find high-resolution photos of your animal.
Choose colored pencils, markers, or digital brushes that allow for layering.
Have an eraser (or digital eraser) to lift highlights.
2) Sketch the Outline
Lightly sketch the animal’s silhouette and major features (eyes, nose, ears).
Add guidelines indicating fur direction with arrows across the body.
Keep it light — you’ll draw fur over these lines later.
3) Block In Base Colors
Apply a light, even layer of the main fur color over each area:
For orange tabby cats, start with a peachy-orange wash.
For black dogs, lay down a soft gray or cool black.
Avoid pressing hard; you’ll layer on top.
4) Establish Fur Flow with Midtones
With a slightly darker pencil/brush, begin short, directional strokes following your guideline arrows.
Vary stroke length to suggest clumping: e.g., three strokes together, a gap, then two strokes.
Don’t rush — this step establishes fur texture.
5) Add Depth with Shadows
Identify areas where fur overlaps, folds, or dips (e.g., under chin, ear bases, inside legs).
Using a cooler or darker version of your midtone, shade these areas with short strokes, still in the direction of fur.
Blend edges lightly if needed, but maintain visible fur texture.
6) Refine Highlights
Use a white or light-colored pencil, or erase carefully for highlights on fur tips.
Place highlights where light hits directly (e.g., bridge of the nose, cheeks, tops of ears).
Avoid over-highlighting; realism needs balance.
7) Introduce Subtle Color Variations
Observe your reference: Are there subtle browns, yellows, or blues in the fur?
Lightly layer these hues in appropriate areas to mimic natural iridescence or warmth.
8) Detail Individual Strands
With a sharp pencil or fine brush, add the sharpest individual hairs in key spots:
Around eyes, whiskers, edges of ears, stray hairs along the back.
Randomize some strands’ direction slightly to avoid a stiff look.
9) Final Adjustments
Zoom out or step back: check the overall value balance and direction consistency.
Soften harsh transitions by gently blending with a blending stump or soft brush.
Reinforce shadows or highlights if needed.
10) Finishing Touches
Add whiskers (often white or black, with decisive, quick strokes).
Darken features like the nose or eyes for contrast.
Sign your piece!
Bonus Tips:
– Keep pencils sharp or brushes fine-tipped.
– Work slowly in sections — trying to complete the whole animal at once leads to inconsistency.
– Use a kneaded eraser to lift mistakes or add soft highlights.
– Practice on small fur patches before committing to your final piece.