
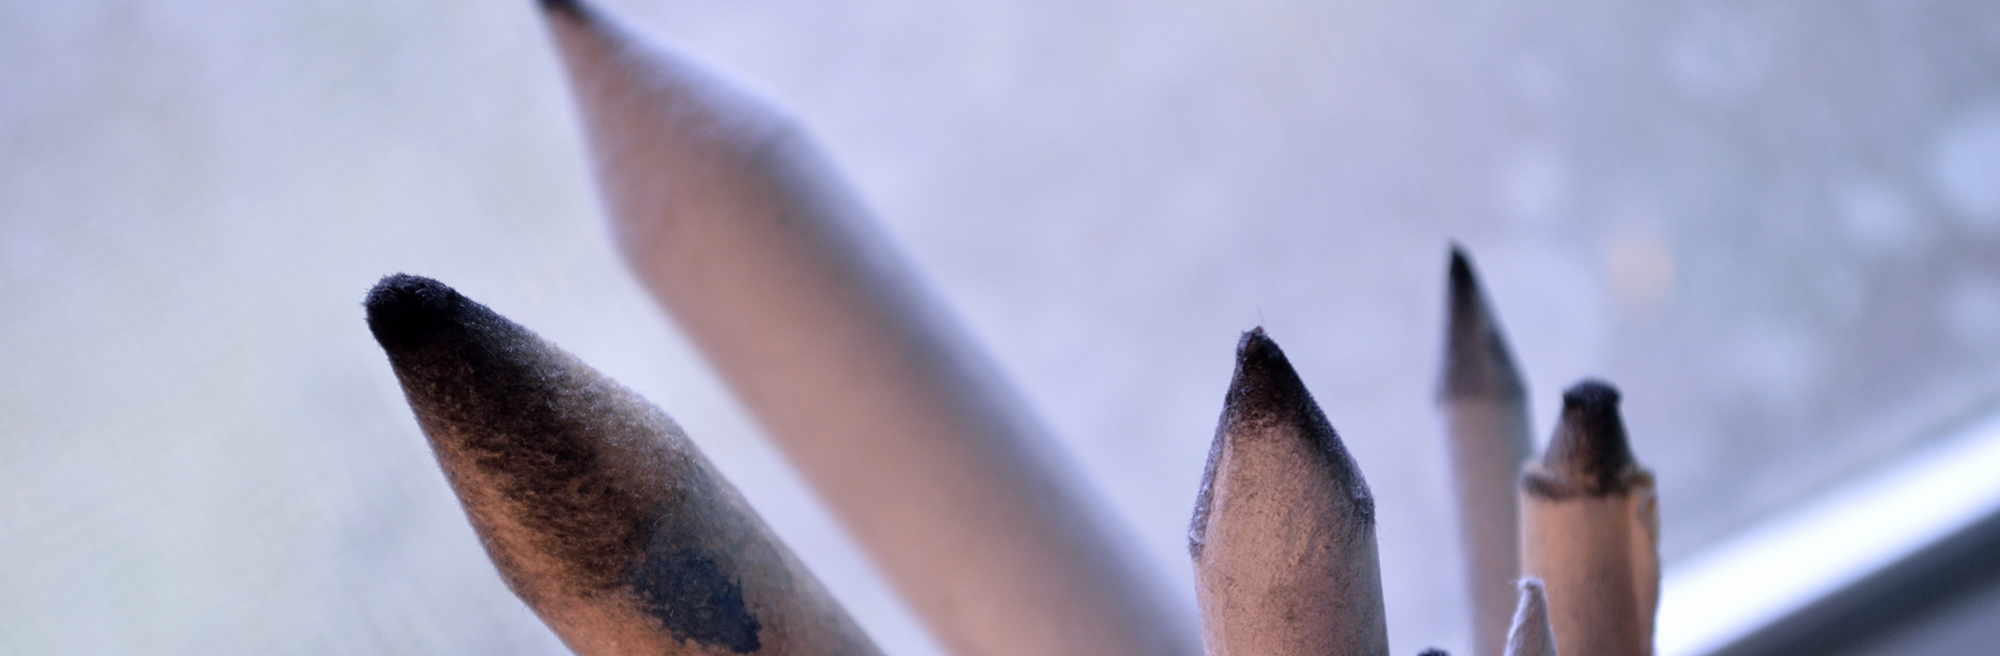
Mastering Tortillons and Blending Stumps: a Guide for Every Artist
Whether you’re just picking up your first pencil or refining your professional portfolio, learning to use tortillons and blending stumps can elevate your drawings with smooth gradients, realistic shading, and subtle textures. These simple tools — often overlooked — are essential for artists who want to control their tonal transitions with finesse. This guide breaks down everything you need to know about these versatile sticks, from what they are to advanced blending techniques.
1. What Are Tortillons and Blending Stumps?
Blending stumps (or stumps) are tightly rolled, double-pointed cylinders made from compressed paper. They have sharp tips for precision blending. Tortillons are similar but typically thinner, with a hollow center and a single, looser roll of paper. This gives them a softer, slightly scratchier touch and makes them better suited for quick blending or working in small areas.
Both tools come in various sizes, allowing you to blend broad areas or add fine details. They are ideal for graphite, charcoal, pastel, and colored pencils.
2. Choosing the Right Tool
Tortillons are best for:
Quick, loose blending.
Small, detailed areas like eyes, nostrils, or hair strands.
Artists who prefer a softer texture.
Blending stumps excel at:
Smooth, even gradients over large areas (e.g., backgrounds or skin tones).
Controlled shading transitions.
Reworking or lifting graphite gently.
For professional work, high-quality stumps with tightly wound paper last longer and deliver more consistent results.
3. Setting Up: Preparing Your Workspace
Before you start blending:
Ensure you have a clean surface — a dirty drawing board can transfer unwanted marks.
Keep separate stumps/tortillons for light, medium, and dark tones to avoid muddy shading.
Have scrap paper handy for cleaning the tips or testing pressure.
Use kneaded erasers and soft brushes alongside your blending tools to perfect transitions.
4. Basic Blending Techniques for Beginners
Step 1: Lay down your shading.
Use light, even pencil strokes in the area you want to shade. Avoid pressing too hard — it’s easier to darken later than to lighten a heavy mark.
Step 2: Start Blending with Gentle Pressure.
Hold your tortillon or stump like a pencil. Begin in the darkest part of your shading, making small circular motions to soften pencil strokes and create a smooth transition.
Step 3: Feather the Edges.
Gradually move toward the lighter area while reducing pressure. This technique creates a seamless gradient, giving volume and form to objects.
Step 4: Clean Your Tool Regularly.
Wipe it on scrap paper or sandpaper blocks to remove excess graphite. A dirty stump can introduce unwanted tones into lighter areas.
5. Advanced Techniques for Professional Artists
Once you’ve mastered the basics, try these advanced applications:
A. Lifting Highlights
Use a clean stump to lift excess graphite from an area, brightening highlights without using an eraser. This method preserves delicate details, like catchlights in eyes.
B. Texture Creation
Twist the tip of a tortillon or use its side to create subtle textures for fabrics, hair, or skin pores. By varying the pressure and direction, you can suggest different materials.
C. Layered Blending
Professionals often layer multiple grades of graphite (e.g., H, HB, 2B) before blending. Blend each layer lightly to build depth gradually, resulting in richer, more dynamic shading.
D. Reverse Shading
Instead of adding dark tones first, some artists shade the entire area lightly, then use a stump to pull graphite into darker shapes. This technique works beautifully for atmospheric effects like fog or mist.
E. Controlled Smudging
Use masking tape or stencils with your blending stump to create sharp edges alongside soft shading — perfect for mechanical or architectural drawings.
6. Caring for Your Tortillons and Stumps
Sharpen the tip. When the point becomes too blunt or dirty, use sandpaper or a craft knife to restore its shape.
Clean frequently. Avoid accumulating excess medium on the tip. Regular cleaning prevents unwanted marks.
Replace when necessary. Blending tools don’t last forever; once they’re torn or too dirty to clean effectively, it’s time to get a new one.
7. Common Mistakes to Avoid
Over-blending. Too much blending can flatten your drawing, making it look muddy and lifeless. Preserve some crisp edges for contrast.
Dirty tools. Neglecting to clean your stump or tortillon can introduce dark smudges into lighter sections.
Inconsistent pressure. Pressing too hard creates harsh transitions; keep a light, consistent touch for smooth gradients.
Ignoring paper texture. Coarser papers hold more graphite and react differently to blending. Practice on your chosen surface to master your control.
8. Recommended Materials
For best results, pair your tortillons and stumps with:
Quality graphite pencils (e.g., Staedtler Mars Lumograph, Faber-Castell 9000).
Soft charcoal pencils or sticks for dramatic shading.
Smooth Bristol or heavyweight drawing paper.
Kneaded erasers for lifting and shaping highlights.
Professionals may prefer blending stumps made from archival, acid-free paper to avoid discoloration over time.
9. Tips for Specific Subjects
Portraits: Use blending stumps for soft skin transitions; reserve tortillons for details like eyelids or nostrils.
Landscapes: Layer broad gradients with stumps to create atmospheric perspective, then use tortillons to define trees, rocks, or grass textures.
Still life: For reflective surfaces like glass or metal, precise blending with stumps can mimic light reflections; for matte textures, lighter tortillon blending works best.
10. Why Master Blending Matters
Blending is more than just smudging pencil marks — it’s a critical skill for controlling light, shadow, and texture in your art. Mastery of tortillons and stumps allows you to:
Create realistic 3D forms with subtle tonal transitions.
Convey atmosphere and emotion through soft edges and gradients.
Add professional polish that sets your work apart.
Conclusion
Tortillons and blending stumps might seem like humble tools, but in skilled hands, they are transformative. Whether you’re a beginner hoping to smooth out pencil lines or a professional artist looking to add lifelike depth to your work, these tools offer unmatched versatility and control. By practicing the techniques in this guide and caring for your tools properly, you’ll unlock new dimensions in your drawings and elevate your artistic expression.
Happy blending!