
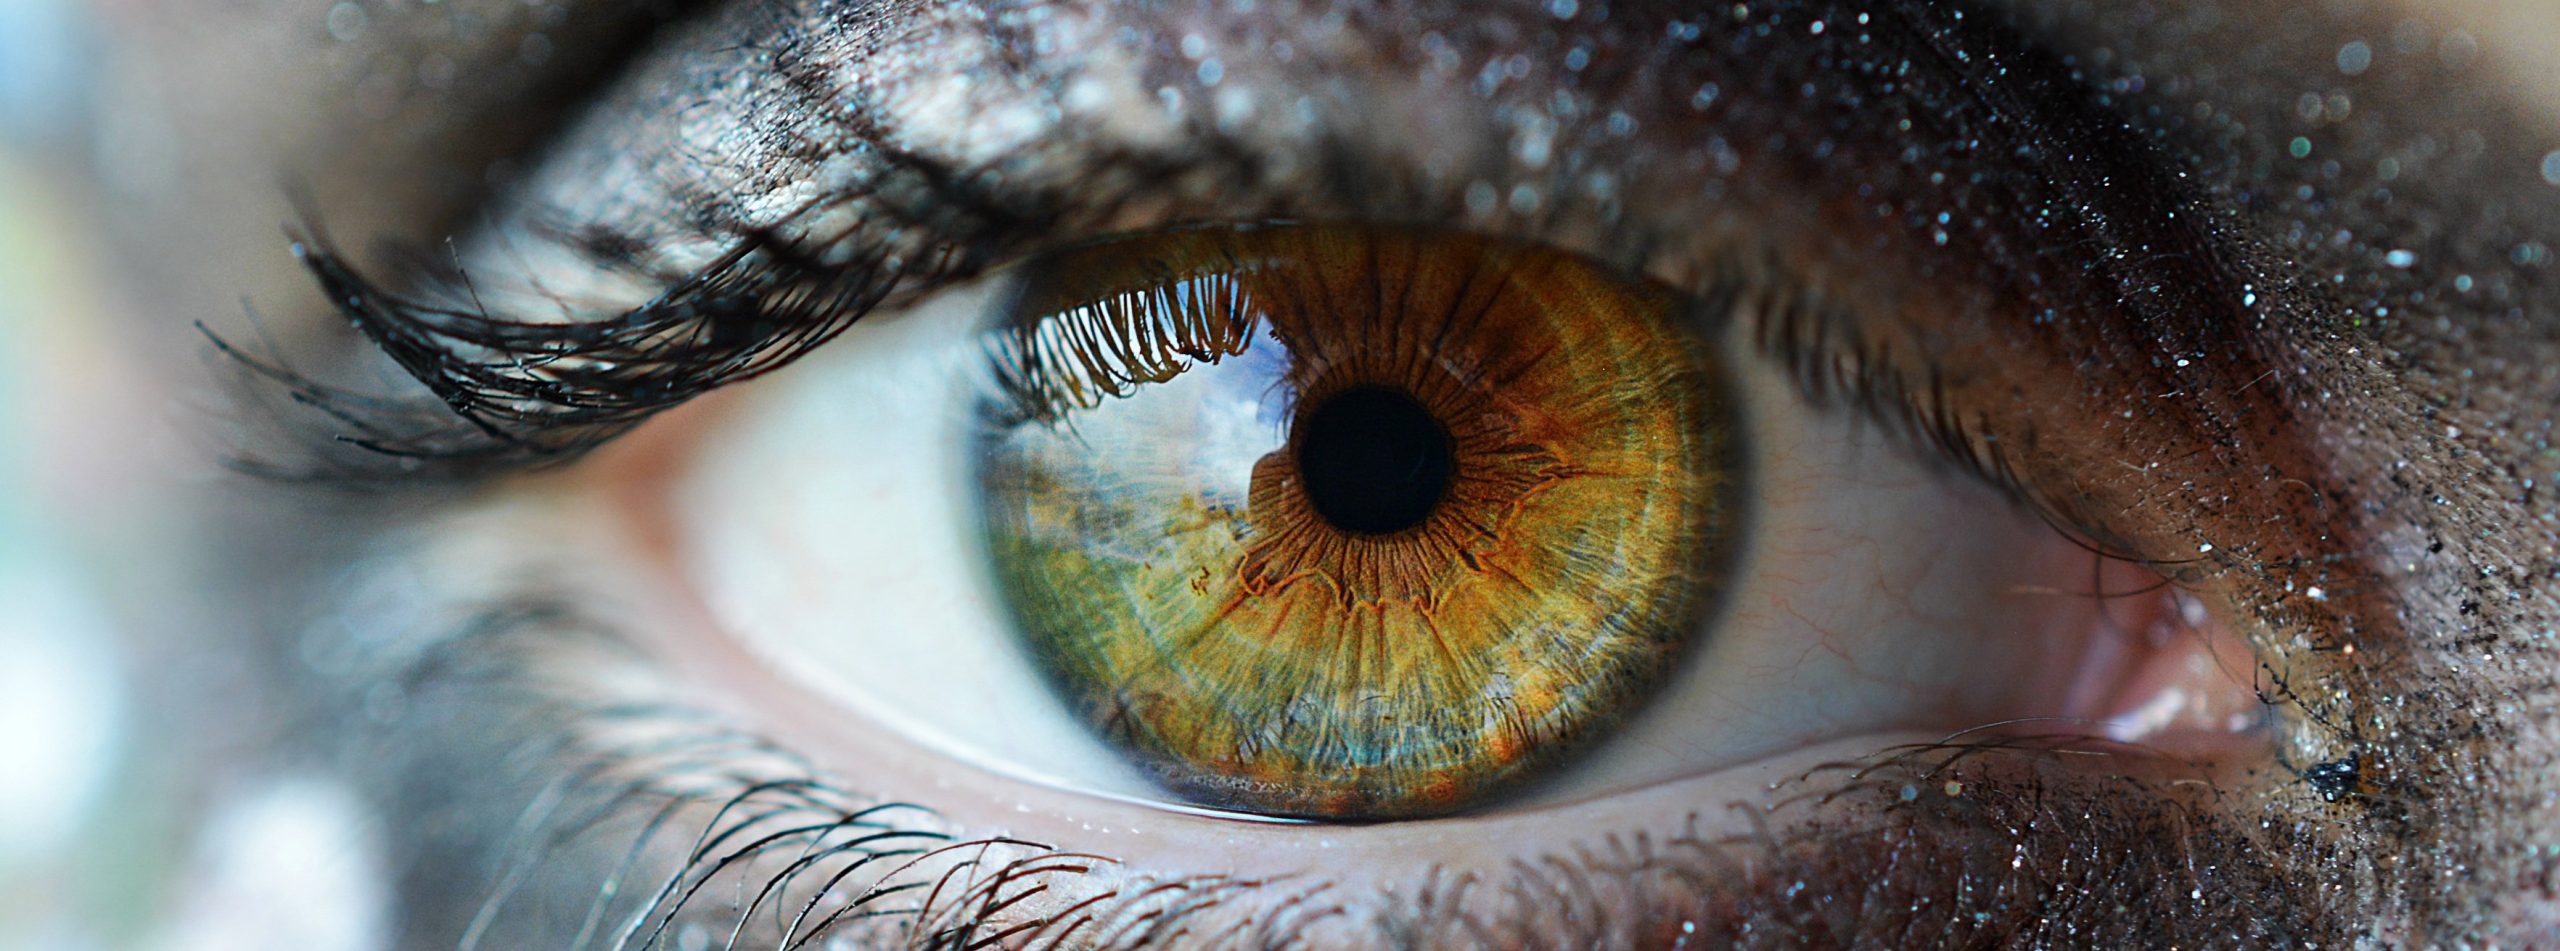
Mastering the Human Eye: a Complete Drawing Tutorial
The human eye is often described as the window to the soul — and for good reason. Its expressiveness can define the emotional core of a portrait or scene. Whether you’re an aspiring amateur or a seasoned professional, understanding how to draw eyes accurately will dramatically elevate your work.
Part 1: Understanding & Planning
Before drawing, you must understand the structure and purpose of the eye.
1.1 Know the Anatomy
– Even stylized eyes benefit from anatomical accuracy.
– Eyeball (Globe): A spherical form. Think of the eye as a ball resting in a socket.
– Iris & Pupil: Center of the eye — the colored part and the black center.
– Sclera: The white of the eye.
– Eyelids: Both upper and lower lids follow the curvature of the eyeball.
– Tear Duct: Often overlooked — it sits at the inner corner.
– Eyelashes & Eyebrows: Frame and enhance expression.
– Surrounding Planes: Brow bone, cheekbones, and temples define the eye’s context.
1.2 Reference is Key
Use a mix of references:
– Real life (mirror selfies, friends)
– High-res photos
– 3D models or anatomy apps
Tip: Avoid copying one reference. Study multiple eyes across ethnicities, ages, and expressions.
Part 2: Practicing Eye Drawing
Consistency is built through structured repetition.
2.1 Basic Construction: Step-by-Step
Draw a Sphere – Represent the eyeball.
– Add the Eyelids – Wrap lines over the sphere to represent the top and bottom lids. The upper lid typically
covers the top of the iris.
– Sketch the Iris – Centered (or not, for gaze direction), making sure it’s a perfect circle, not an oval.
– Add the Pupil – Centered in the iris.
– Add the Tear Duct and Outer Corner – Subtle curves rather than points.
– Sketch Eyelashes – Follow the curve of the lid. Vary the direction, length, and spacing.
– Shape the Eyebrow – Use gesture strokes for hair flow.
– Shadow and Light – Consider the eyeball’s roundness. Shade accordingly, with reflected light, a cast shadow
from the upper lid, and a highlight in the cornea.
2.2 Exercises for Accuracy
– Eye Studies: Fill a page with 10–20 quick eye sketches from different angles.
– Iris Variations: Practice different iris textures and lighting effects.
– Emotion Studies: Capture fear, joy, sadness — just from the eye area.
– Inversion: Try drawing an eye upside down to engage your observational brain.
Part 3: Implementing Eyes Into Full Compositions
3.1 Proportional Placement
– Use the Loomis or Reilly method to correctly place eyes in the head:
– Eyes are one eye-width apart.
– They sit approximately halfway down the head vertically.
– The tilt of the head affects alignment — use a construction method that supports rotation.
3.2 Lighting and Atmosphere
– Use lighting direction to determine where to place highlights and shadows.
– Wetness and reflectivity of the eye are crucial — don’t over-blur the cornea.
– Add ambient occlusion in corners and under eyelids.
3.3 Stylization Tips
– For comics or manga: simplify but still anchor in anatomy.
– For realism: use soft edges and vary pressure and texture.
– For expressive art: exaggerate proportion, light, or emotion based on mood.
Tools & Mediums
– Graphite or Charcoal for value studies.
– Ink or Ballpoint for confidence in line.
– Digital Drawing (e.g., Procreate, Photoshop): use layers to test form and lighting.
– Brush Tip Pens: great for lashes and expressive lines.
Integrating Into Broader Practice
For Amateurs:
– Start a daily eye sketch challenge: one eye from reference, one from imagination.
– Combine your eyes into portrait sketches every week.
– Study master artists: try to recreate eyes from classical paintings or manga panels.
For Professionals:
– Push realism by rendering from 3D models or life with intentional lighting.
– Include eye expression in storyboards or character designs.
– Maintain a library of eye expressions for use in illustrations and concept art.
Final Tips
– Observe, Don’t Assume: Don’t draw a “symbol” of an eye — draw the eye you see.
– Zoom Out: Make sure your eye fits into the character’s facial structure.
– Consistency: Eyes should match across characters (unless purposefully asymmetrical).
Experiment: Try older eyes, closed eyes, tired eyes, or fantastical designs.
BELOW IS A FREE DOWNLOAD SHEET TO HELP EXPLAIN CERTAIN POINTS OUTLINED ABOVE