
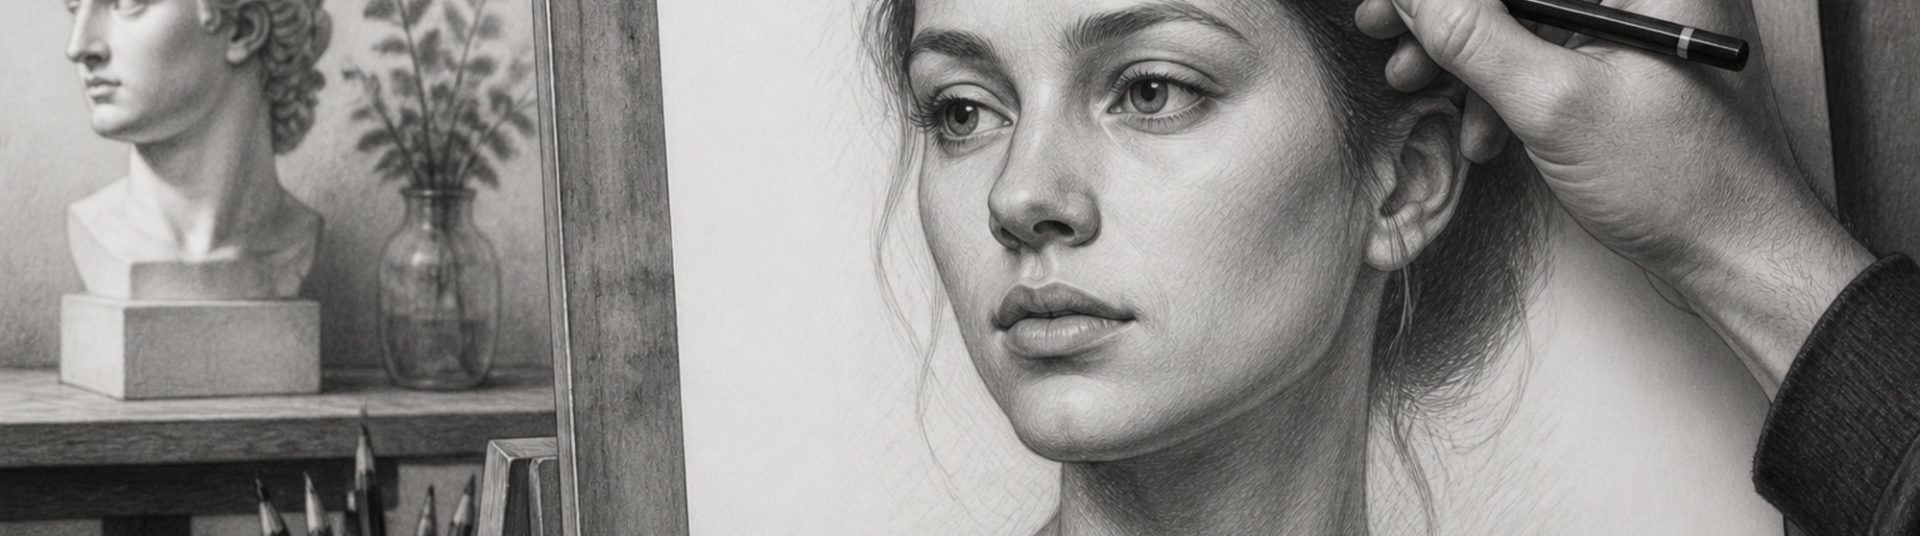
How to Draw Foreheads and Temples in Pencil Portraits
The forehead occupies a large area of the face and sets the direction of light across the portrait. This tutorial explains how to draw foreheads and temples in pencil with correct curvature, brow bone shading and smooth transitions into the hairline.
1) Forehead Form
The forehead wraps around the skull — it is not a flat plane. The brow ridge creates a subtle horizontal break where value often shifts. Temples recede slightly at the sides of the head.
2) Light on the Forehead
Foreheads frequently catch the brightest skin highlights. Reserve your lightest values here, but maintain soft gradation into hair and temples.
3) Step-by-Step Forehead Drawing
A) Map the hairline and brow line
These boundaries control forehead height and proportion.
B) Shade the brow bone shadow
A gentle arc under the brows adds depth to the eye area.
C) Model temple recession
Slight darkening at the sides suggests roundness.
D) Blend into hair at the hairline
Individual hair strokes overlap skin — avoid a hard helmet edge.
4) Common Mistakes
– Forehead drawn flat without skull curvature.
– Hairline too low or unnaturally straight.
– Ignoring highlight placement relative to the light source.
5) Conclusion
Drawing foreheads and temples in pencil portraits completes the upper face. Combine with eyebrow and hair tutorials for cohesive, professional results.