
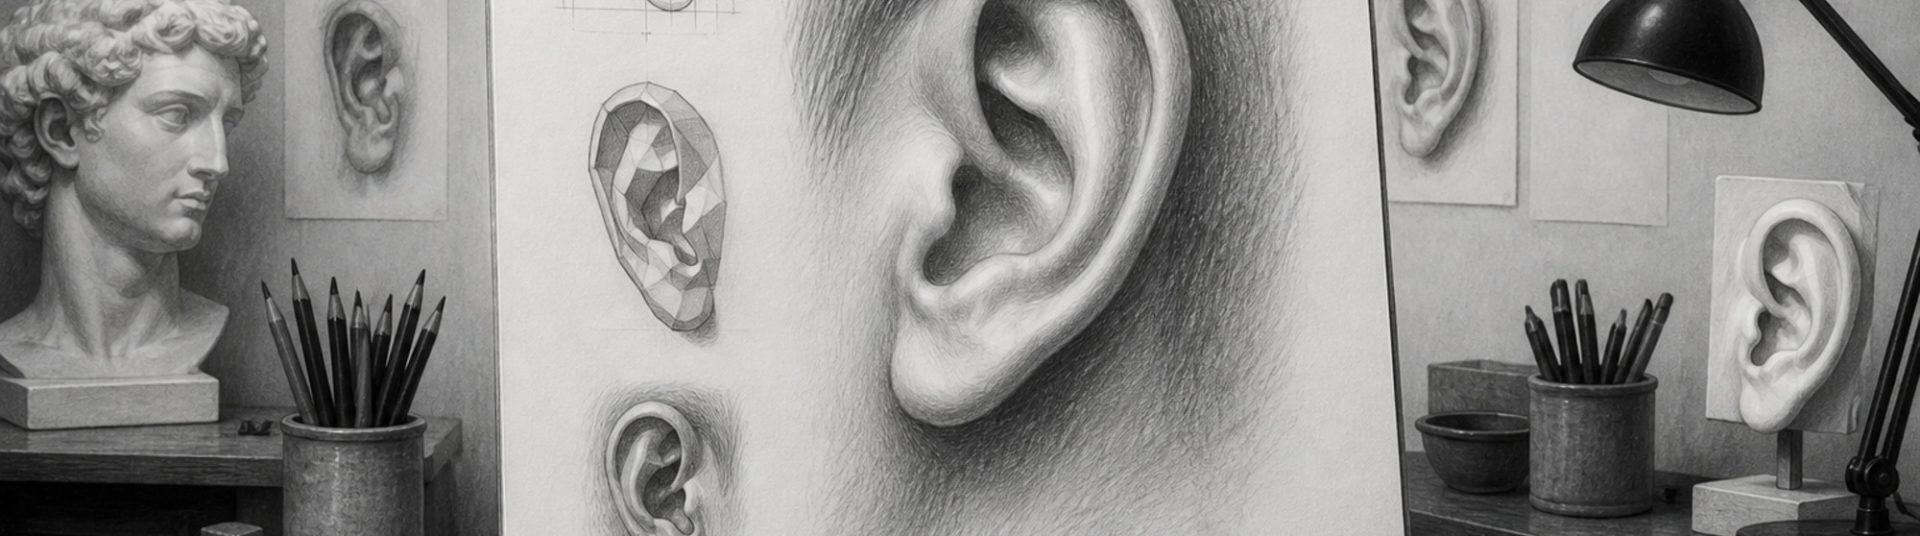
How to Draw Ears in Pencil Portrait Drawings
Ears are easy to overlook until they break a likeness. This guide explains how to draw ears in pencil portrait drawings with correct placement, cartilage forms and value control — essential for profile and three-quarter portrait views.
1) Ear Structure
Key forms include the helix (outer rim), antihelix, concha, tragus and lobe. Simplified blocking shapes prevent the ear looking flat against the head.
2) Proportion on the Head
The ear often aligns between the brow and base of the nose on profile. On three-quarter views, foreshortening compresses forms — measure carefully.
3) Step-by-Step Process
A) Block the outer shape
Draw a simplified ear silhouette.
B) Place major ridges
Mark helix and inner cartilage curves.
C) Shade concave areas
The concha is usually darkest; rim catches light.
D) Refine edge and hair overlap
Hair may partially cover the top — draw what reference shows.
4) Common Mistakes
– Ears placed too high or low.
– Flat shading without ridge structure.
– Over-detailing lobes while ignoring upper cartilage.
5) Conclusion
Confident ear drawing strengthens profile portraits. Study ears from life and photos until the major planes feel familiar.