
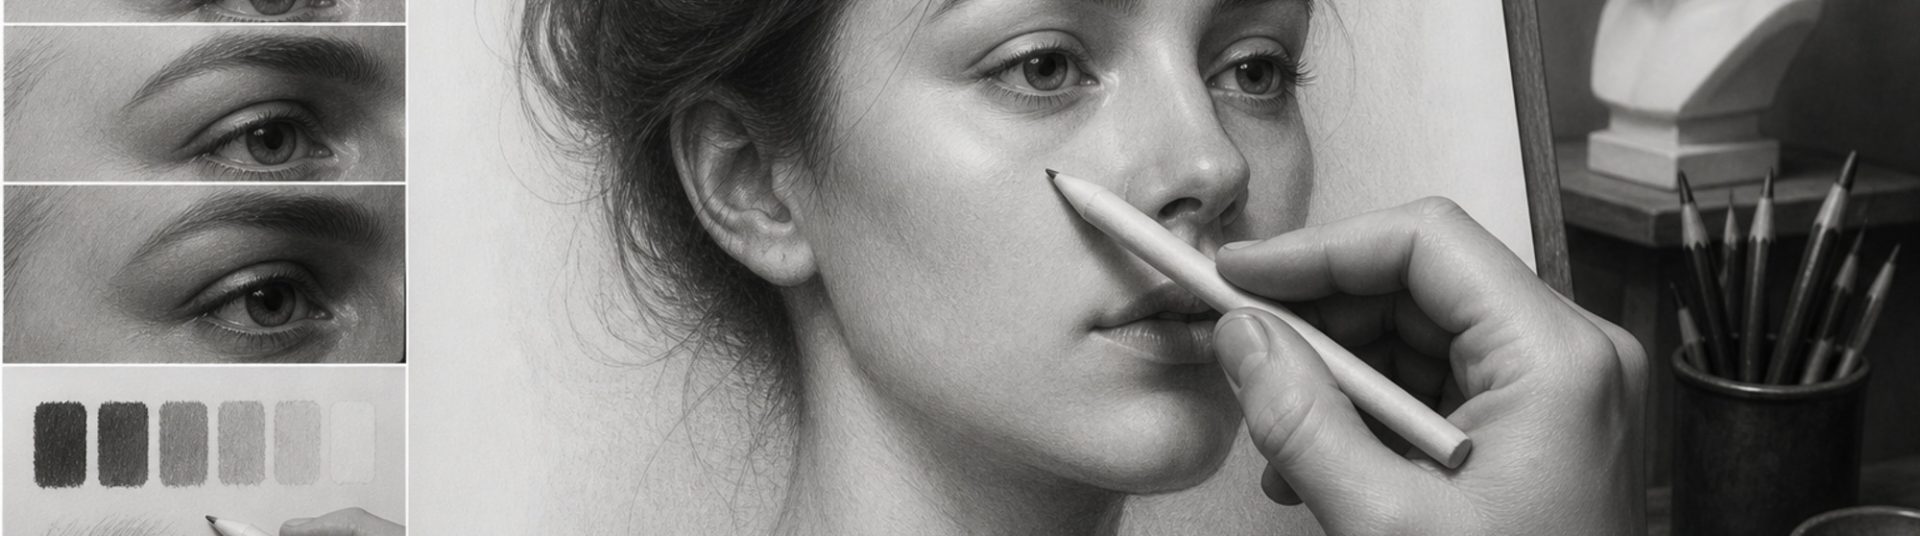
How to Blend Graphite Pencil for Smooth Skin Tones
Smooth skin separates amateur sketches from polished portrait drawings. This tutorial covers how to blend graphite pencil for smooth skin tones using layering, blending stumps, tissue and erasers without muddy results.
1) Paper and Pencil Choice
Smooth bristol or fine-tooth paper accepts even blending. Build from HB and 2B before deep 4B accents.
2) Layering Method
Apply light even layers, blend between grades, and allow the paper tooth to fill gradually rather than pressing hard immediately.
3) Blending Tools
Blending stump: Precise small areas.
Tissue: Broad soft passes.
Kneaded eraser: Lift glow on cheeks and forehead.
4) Avoiding Muddy Skin
Do not over-blend dark and light zones together. Keep a clear light source and clean highlights on nose, chin and brow.
5) Conclusion
Blending graphite for smooth skin tones improves every portrait you draw. Practise value strips and cheek studies before full commissions.