
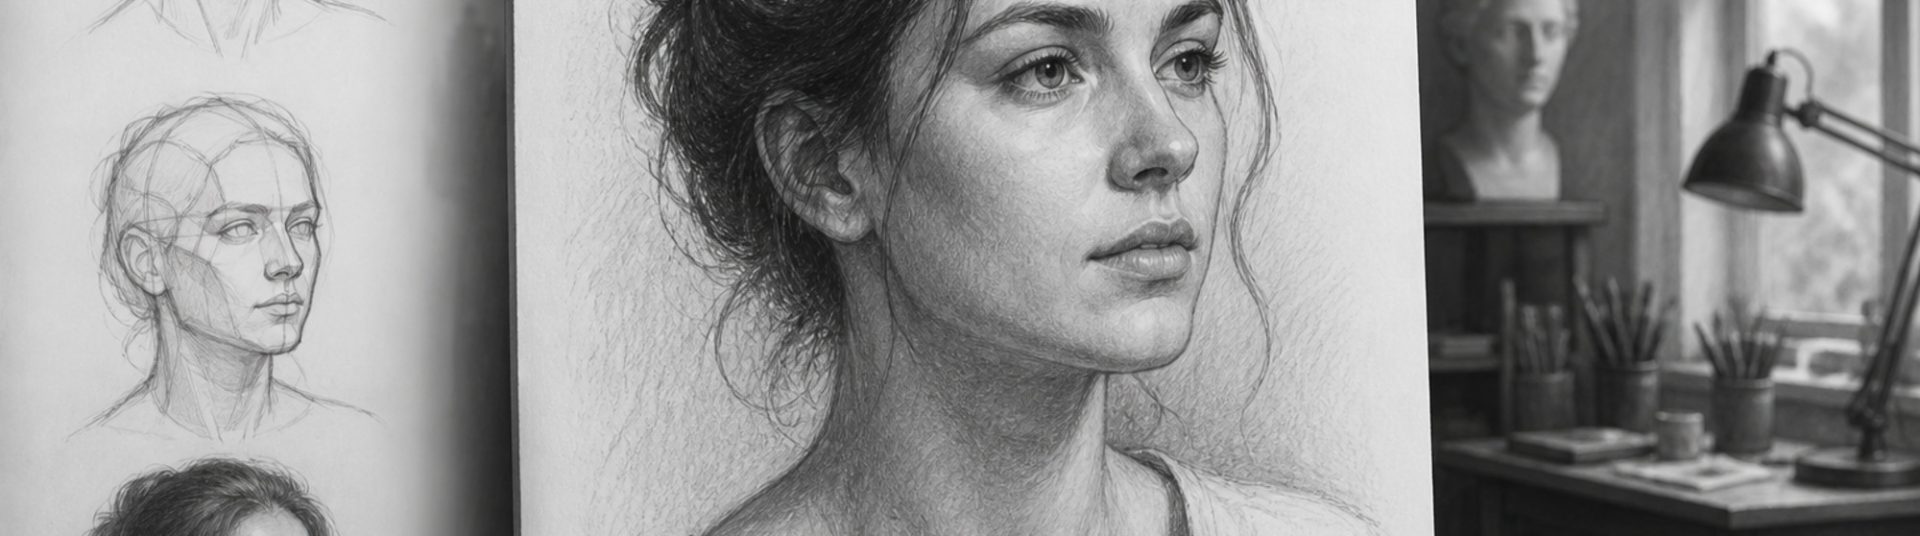
How to Draw Three-Quarter View Faces in Pencil
The three-quarter angle is the most common pose in commissioned portraits. Learning how to draw three-quarter view faces in pencil requires managing foreshortening, asymmetry and overlapping features convincingly.
1) Understanding Foreshortening
Features on the turned-away side compress — the far eye appears narrower, the far cheek recedes, and the nose may overlap the far eye corner. Measure widths rather than guessing symmetry.
2) Centre Line Shift
The facial midline curves with the head turn. Place it before positioning eyes, nose and mouth so features wrap around the form.
3) Step-by-Step Three-Quarter Portrait
A) Draw the head as an angled oval
Indicate turn with an offset centre line.
B) Place eyes along the equator
Near eye larger; far eye compressed.
C) Build the nose bridge toward the viewer
Nostril on the far side appears partially hidden.
D) Shade according to the light source
One side of the face carries core shadow; the other catches light.
4) Common Mistakes
– Both eyes drawn the same width.
– Mouth centred as in a front view.
– Flat shading that ignores the head turn.
5) Conclusion
Drawing three-quarter view faces in pencil is essential for portrait artists. Practise angled studies daily and your front-facing work will improve too.