
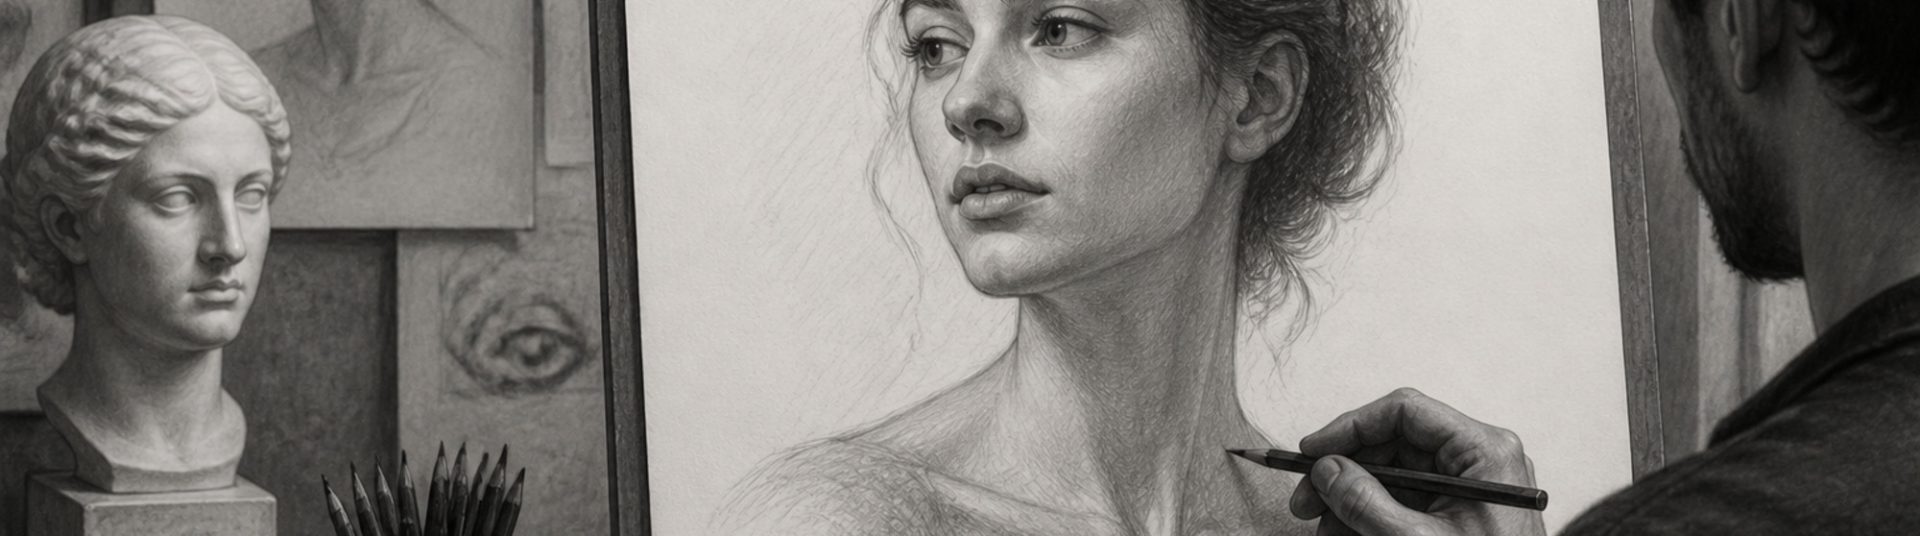
How to Draw Neck and Shoulders in Pencil Portraits: Step-by-Step Guide
The neck and shoulders connect the head to the body and often carry the strongest cast shadows in a portrait. Learning how to draw neck and shoulders in pencil means understanding cylindrical form, sternocleidomastoid muscles and how clothing interacts with the collarbone.
1) Neck Anatomy Basics
The neck is not a flat column — it tapers upward and includes visible muscle bands on the sides. The Adam’s apple sits centrally on male subjects; female necks often appear smoother but still follow the same underlying structure.
2) Shoulder and Collarbone Placement
Shoulders frame the portrait and set the pose. Collarbones create subtle highlights that guide the eye across the upper chest. Measure shoulder width against head size for accurate proportion.
3) Step-by-Step Process
A) Block the neck cylinder
Indicate width at jaw base and where the neck meets the shoulders.
B) Place the sternocleidomastoid lines
Light curves from behind the ear toward the collarbone.
C) Shade the core shadow
Under the jaw and along the side away from the light source.
D) Model collarbone and shoulder planes
Keep highlights sharp on bone edges; soften muscle transitions.
4) Common Mistakes
– Neck too narrow or wide for the head.
– Flat shading without cylindrical form.
– Shoulders at identical height when the pose is relaxed.
5) Conclusion
Drawing neck and shoulders in pencil portraits grounds the head and completes the composition. Practise from photos with varied poses and lighting for confident results.