
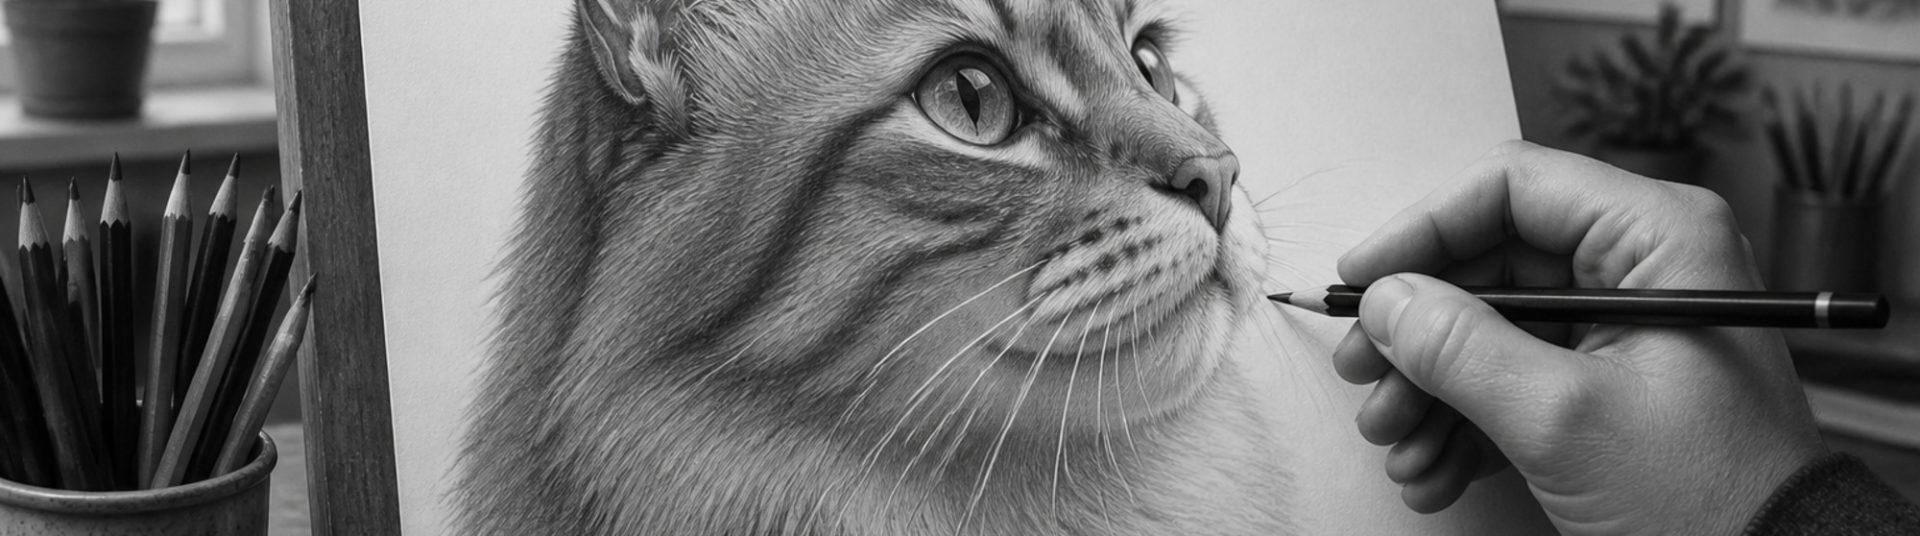
How to Draw Whiskers and Fine Detail in Pet Portraits
Pet portrait artists know that whiskers and fine fur detail sell the realism of a drawing. Whether you specialise in dog pencil portraits, cat portraits or wildlife studies, this tutorial explains how to draw whiskers in pencil without smudging surrounding fur work.
1) Understanding Whiskers on Dogs and Cats
Whiskers are thick, tapered hairs rooted deeply in the muzzle. They curve outward, catch light along their length, and cast faint shadows on fur below.
2) Build Fur Before Whiskers
Complete muzzle shading and major fur direction first. Whiskers are final accents — adding them too early leads to smudging.
3) Tools for Fine Detail
Sharp HB or mechanical pencil, craft knife for scratching highlights, kneaded eraser rolled to a point, fixative optional for fragile layers.
4) Step-by-Step Whisker Technique
A) Map whisker roots
Note clusters on muzzle — cats often have longer cheek whiskers; dogs vary by breed.
B) Draw with confident strokes
Use single smooth lines from root to tip. Avoid hairy, broken marks.
C) Vary weight and curve
Not every whisker is identical. Some overlap; some catch bright highlights.
D) Lift highlights
Use eraser to brighten whiskers that catch strong light.
5) Fine Fur Around the Muzzle
Use short directional strokes following bone structure. Keep values slightly lighter around whisker roots so lines remain visible.
6) Common Pet Portrait Mistakes
– Whiskers drawn last but with blunt pencil.
– Every whisker same thickness.
– Smudging during blending.
– Ignoring shadow cast by long whiskers.
7) Conclusion
Drawing whiskers and fine detail in pet portraits elevates your pencil work to a professional standard. Protect finished areas, work top to bottom when possible, and practise on scrap paper before committing to a commission portrait.