
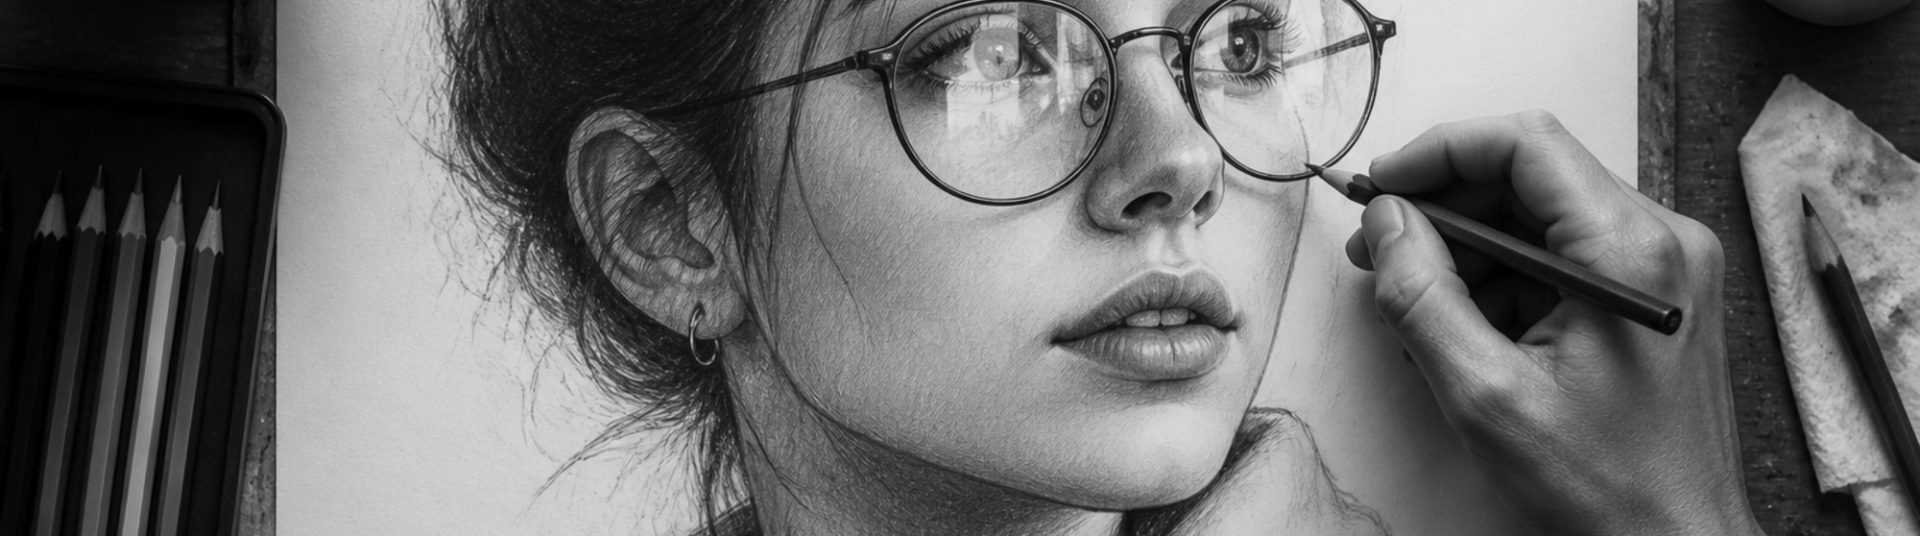
How to Draw Glasses and Reflections in Pencil Portraits
Many portrait commissions include subjects who wear glasses. Learning how to draw glasses in pencil — including frames, lens reflections and shadows — helps you preserve likeness while handling transparent surfaces. This tutorial is written for portrait artists working in graphite from photographs.
1) Observe Frame Shape and Fit
Glasses sit on the bridge of the nose and align with the brow. Frames may be round, rectangular or oval. Note how far they project from the face — this affects cast shadows on cheeks.
2) Materials
Sharp HB and 2B pencils, kneaded eraser for lens highlights, blending stump for soft skin shadows under frames.
3) Draw the Face First
Complete eyes, nose and brows beneath where lenses will sit. Glasses should enhance the portrait, not replace underlying drawing.
4) Step-by-Step Glasses Drawing
A) Lightly outline frames
Trace outer frame shape with minimal pressure.
B) Indicate lens edges
Inner rim may be visible depending on angle.
C) Place reflections
Highlights often appear as curved bands across lenses. Erase or leave paper white — do not fill lenses solid grey.
D) Shade frame thickness
Frames have depth; underside of top rim catches shadow.
E) Add nose pad and temple shadows
Small contact shadows anchor glasses to the face.
5) Handling Transparency
Lenses reveal distorted portions of the eye and brow. Draw the eye first, then soften with light tone over portions covered by glass. Reflections sit on top visually — place them last.
6) Common Mistakes
– Opaque grey lenses hiding the eyes.
– Symmetrical reflections on both lenses regardless of light.
– Frames floating above the nose without contact shadows.
– Over-dark temples that unbalance the face.
7) Conclusion
Drawing glasses in pencil portraits requires balancing structure, transparency and likeness. Study photo references under consistent lighting and practise simplifying reflections. Well-drawn spectacles become a characterful part of the portrait rather than a distraction.