How to Draw a Realistic Nose in Pencil Portraits: Step-by-Step Guide
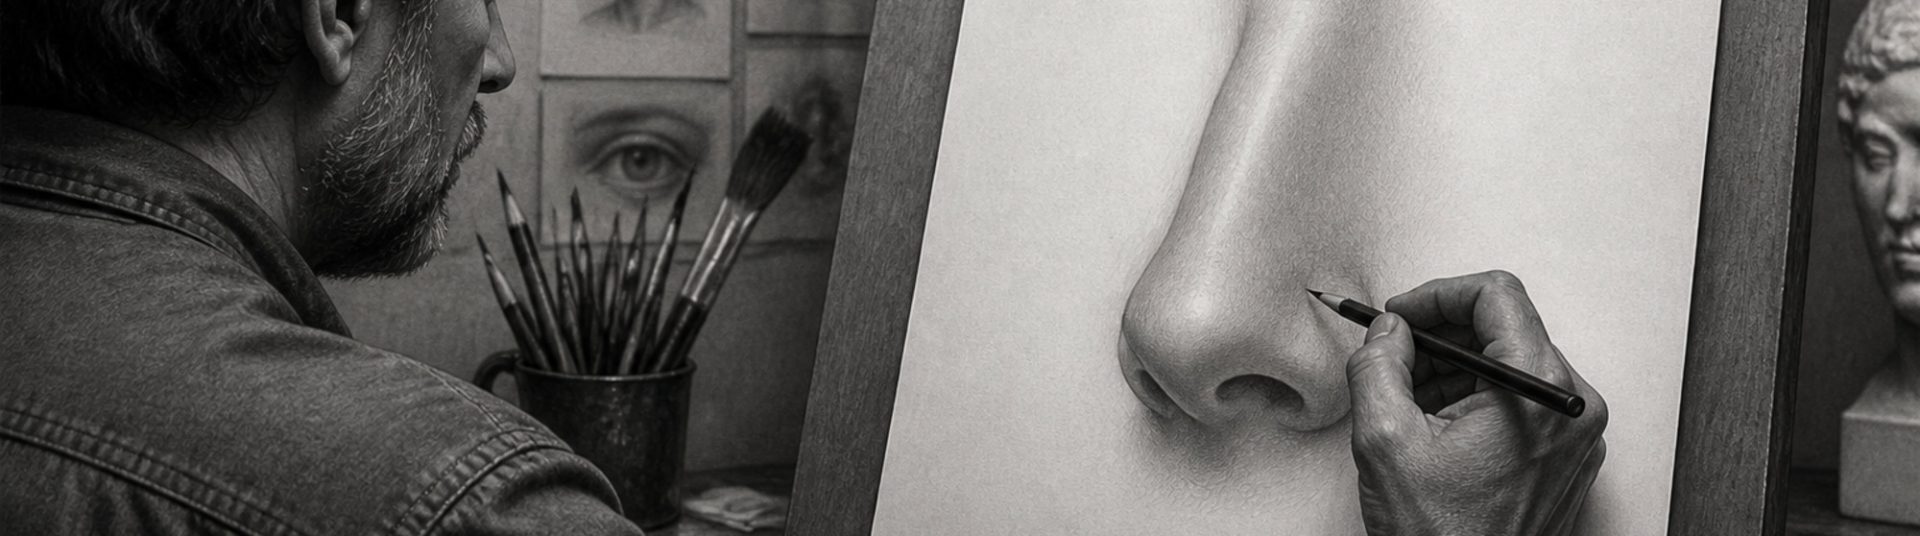
Learning how to draw a realistic nose in pencil is essential for portrait artists. The nose anchors the face, connects the eyes to the mouth, and carries subtle planes that define likeness. This pencil portrait tutorial explains nose structure, proportion, shading and blending so you can draw noses confidently in graphite from life or photo reference.
1) Nose Anatomy for Portrait Artists
Before shading, understand the basic forms. A nose is not a triangle — it is a combination of the bridge, tip, nostrils, wings and septum sitting on the front plane of the face.
Key landmarks:
Bridge: Runs from between the eyebrows toward the tip.
Tip (ball): The rounded front form that catches light.
Nostrils: Openings framed by soft wing shapes.
Wings: Side planes that turn away from the light.
Observing these planes helps you draw a nose that feels three-dimensional rather than flat.
2) Materials for Drawing a Nose in Pencil
Recommended tools:
Graphite pencils HB, 2B, 4B and 6B
Kneaded eraser for soft highlights
Blending stump for smooth transitions
Smooth bristol or cartridge paper
Clear reference photo with side or three-quarter lighting
3) Proportion and Placement on the Face
In classical portrait proportion, the bottom of the nose often aligns near the vertical centre of the head. Width varies, but the nose generally fits within the inner eye lines when facing forward. Lightly mark placement before detail — a nose drawn too low or wide is a common portrait mistake.
4) Step-by-Step: Drawing the Nose in Pencil
A) Lightly block the shape
Use an HB pencil to sketch the outer silhouette and centre line. Keep lines soft so they can be adjusted.
B) Map the planes
Identify the front plane of the bridge and tip, and the side planes of the wings. Shade side planes slightly darker even in early stages.
C) Build midtones
With 2B, develop tone across the nose following your light source. The bridge often remains lighter than the wings.
D) Deepen nostrils and creases
Use 4B or 6B sparingly under the tip and inside nostril openings. Avoid solid black — depth comes from controlled contrast.
E) Refine edges and highlights
Lift a highlight along the bridge and tip with a kneaded eraser. Soften wing edges where the nose meets the cheek.
5) Shading Techniques for a Realistic Nose
Portrait noses look realistic when value changes follow form. Use smooth blending on youthful skin and slightly sharper transitions on aged or male subjects. Reflected light under the tip adds volume — leave a subtle lighter band above the upper lip.
6) Drawing Noses from Different Angles
Front view: Emphasise symmetrical wings and nostril shape.
Three-quarter view: One wing overlaps the bridge; nostril foreshortening is key.
Profile: Focus on the slope of the bridge, tip projection and nostril ellipse.
7) Common Mistakes When Drawing Noses
– Outlining the nose with a hard contour line.
– Making nostrils too dark or too symmetrical.
– Ignoring the connection to the philtrum and upper lip.
– Shading without a consistent light source.
8) Practice Exercises
– Draw five noses from photo reference in different angles.
– Copy a master portrait nose study in 15 minutes.
– Shade only the nose on a blank page to focus on form.
9) Conclusion
Drawing a realistic nose in pencil portraits takes observation, patience and layered shading. Study real faces, simplify planes first, and refine detail last. Combined with strong eye and mouth drawing, a well-rendered nose will significantly improve your portrait work.