
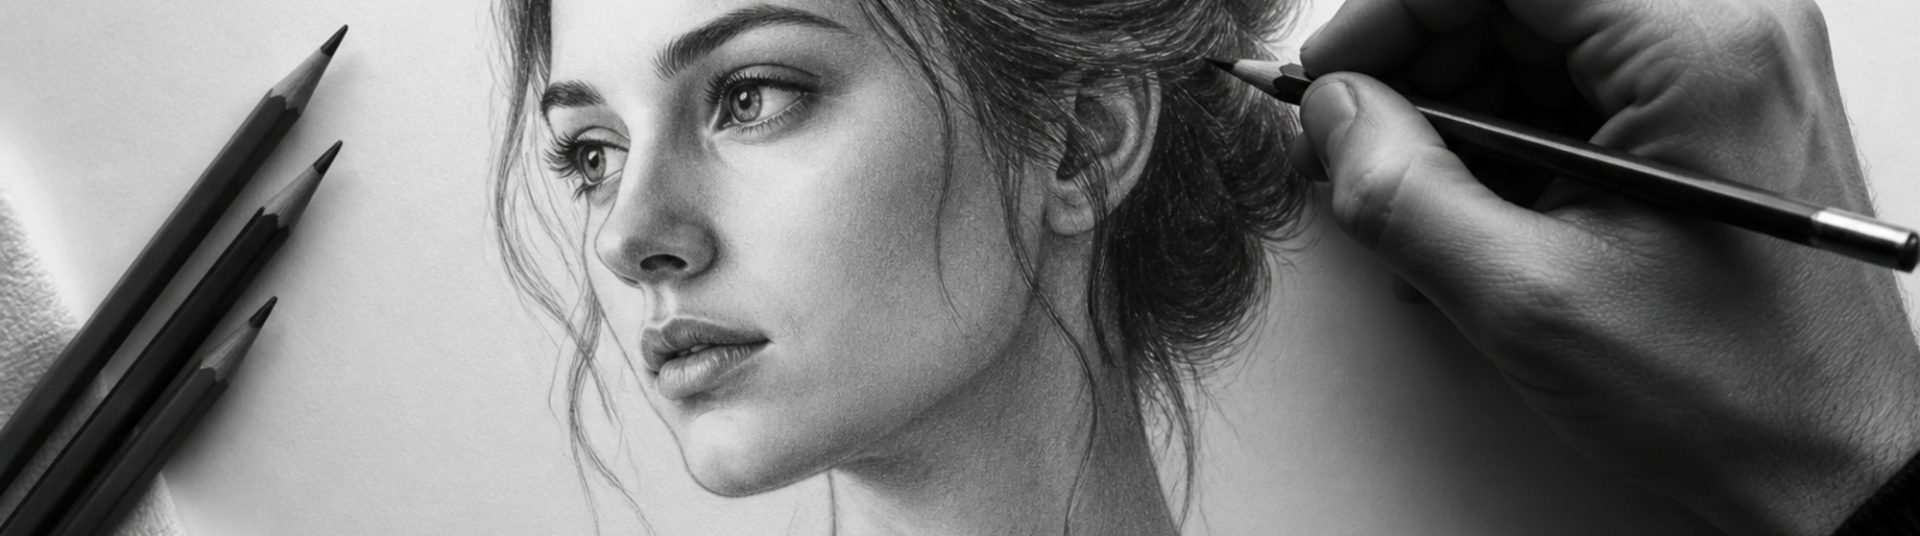
A Complete Guide to Drawing Realistic Hair in Pencil
Hair is one of the most expressive features in portrait drawing. It frames the face, suggests personality, and can make or break the realism of your artwork. Whether you are drawing a soft curl, a sharp fringe, or flowing shoulder-length hair, the same principles apply: observe the structure, build in layers, and let light and shadow do the work. This tutorial walks you through the process step by step, from quick studies to polished portrait hair.
1) Understanding Hair Structure
Before drawing individual strands, look at hair as a three-dimensional form. It grows from the scalp in grouped sections, falls with gravity, and responds to the shape of the head underneath.
Key concepts to observe:
Hairline and parting: Where hair separates reveals the skull shape beneath.
Directional flow: Strands follow consistent paths from root to tip.
Volume: Hair has thickness — it is not a flat shape pasted onto the head.
Light and shadow: Shine sits on raised curves; depth sits inside layers and under overlapping sections.
Studying these patterns helps you avoid the common mistake of drawing hair as a solid outline filled with random lines.
2) Materials You Will Need
For graphite pencil work:
Pencils from HB through 6B for a full value range
Kneaded eraser for lifting highlights and softening edges
Hard erased or pencil eraser for crisp highlights
Blending stumps or tortillons for smooth midtones
Smooth cartridge or bristol paper for fine detail
Optional: sharpened mechanical pencil (0.5mm) for finishing strands
3) Setting Up Your Reference
Choose a clear photograph with visible light direction. Side lighting often works best because it reveals the layers in hair. Avoid flat, on-camera flash references where contrast disappears.
Identify the brightest shine, the deepest shadow, and the midtone areas before you begin. Squint at your reference to simplify the shapes — hair is easier to draw when you see it as masses first, strands second.
4) Step-by-Step: Drawing Hair in Pencil
A) Block in the overall shape
Lightly sketch the outer silhouette of the hairstyle. Keep this line soft — it will change as you refine internal shapes. Mark the parting, major clumps, and any areas where hair falls forward over the face or shoulders.
B) Map the value masses
Using an HB or 2B pencil, shade the large shadow areas first. Think of hair as folded ribbons: each clump has a highlight side and a shadow side. Do not draw individual strands yet.
C) Build midtones and depth
Layer 2B and 4B pencil over shadow areas, following the direction of the hair. Use a blending stump sparingly to connect tones, but leave some paper texture visible for a natural look.
D) Add directional strands
With a sharp 2B or HB pencil, place fine lines over the value masses, always following the flow from root to tip. Place the darkest lines in shadow zones and lighter, fewer lines in highlighted areas.
E) Refine highlights
Lift shine points with a kneaded eraser. For bright specular highlights, use a hard eraser or craft knife to reveal clean paper. Keep highlights narrow — too much white flattens the hair.
F) Finish the hairline and edges
Soften the hairline with broken, feathered strokes rather than a hard outline. Flyaway hairs and lost edges around the ears and temples add realism.
5) Drawing Different Hair Types
Straight hair: Long, parallel strokes with smooth value transitions. Shine appears as elongated bands.
Wavy hair: Group strokes into S-shaped clumps. Emphasise shadow under each wave crest.
Curly hair: Draw clusters of curls as small rounded forms first, then add spiral lines. Deep shadows between curls create volume.
Short hair: Focus on the scalp direction and stubble texture. Use sharper, shorter strokes close to the skin.
6) Hair and the Portrait
Hair should always relate to the face. Check proportions: the distance from chin to hairline, the width of the hairstyle against the cheekbones, and how shadows on the neck connect with hair falling over shoulders.
When drawing commissioned portraits, accurate hair often matters as much as the eyes. Clients recognise hairstyles instantly — capture the overall shape and character before chasing microscopic detail.
7) Practical Exercises
– Value strip study: Draw a row of hair clumps showing five steps from highlight to deep shadow.
– Master copy: Study hair in a Sargent or Bouguereau portrait and note how few lines they use in light areas.
– Timed sketches: Draw the hair mass alone in 10 minutes before attempting a full portrait.
– Section practice: Draw only the fringe, only the parting, or only the ponytail until each feels natural.
8) Common Mistakes to Avoid
– Outlining hair as a single hard shape.
– Using the same pressure throughout — variation creates life.
– Drawing every strand with equal weight — focus detail near the face and focal points.
– Ignoring the skull underneath — hair floats when the head structure is wrong.
– Over-blending — some texture keeps pencil hair believable.
9) Conclusion
Realistic hair is built in layers: shape, tone, direction, detail. Work from general to specific, trust your reference, and practise the same hairstyle several times until the process feels natural. Combined with strong drawing of eyes, skin, and clothing, confident hair rendering will elevate every portrait you create.